
Build a practical espresso workflow around the machine, grinder, preparation space, milk zone, storage and cleanup—without crowding the counter.
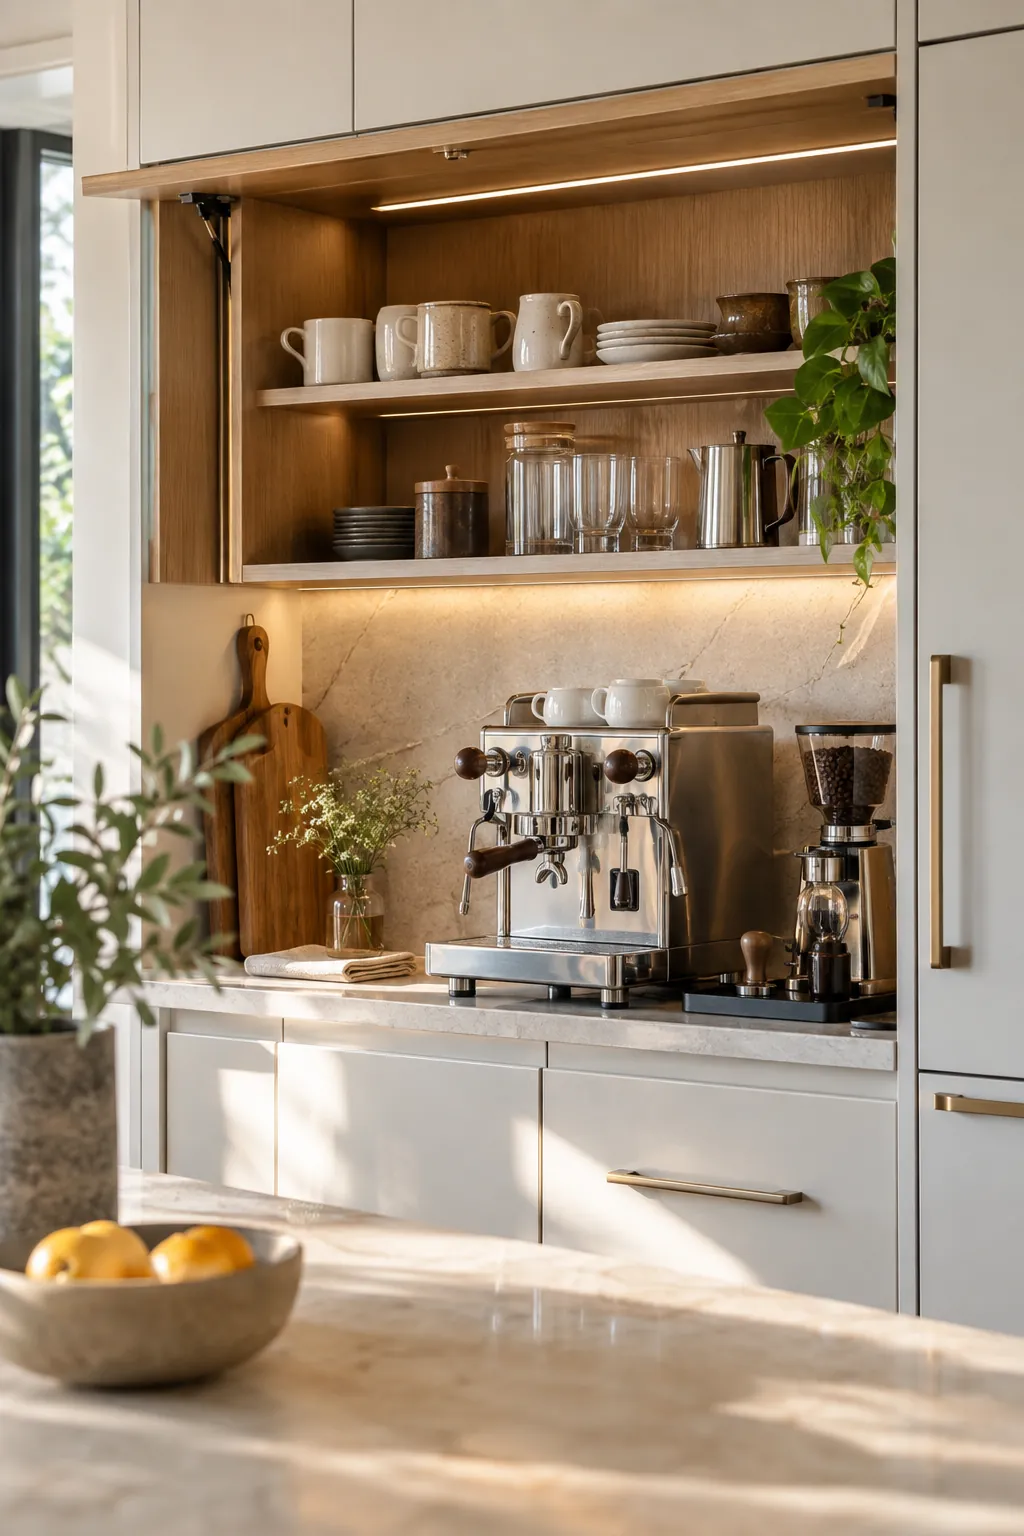 A complete believable home espresso station with machine, grinder, clear prep zone, cups/milk side, and cleanup route
Quick Answer
Place the espresso machine on a stable, level surface near a suitable outlet and practical water route. Put the grinder on the preparation side, keep the scale, dosing, and tamping tools together, reserve the opposite side for cups and milk, place the knock box close enough to prevent drips, and keep one towel and brush nearby for immediate cleanup.
Three Starting Points for the Espresso Workflow
Start with the machine, grinder and a compact scale only when they fit your workflow and space. The remaining tools belong lower in the guide, after you have planned the layout.
Affiliate disclosure: As an Amazon Associate, Inplanty may earn from qualifying purchases.
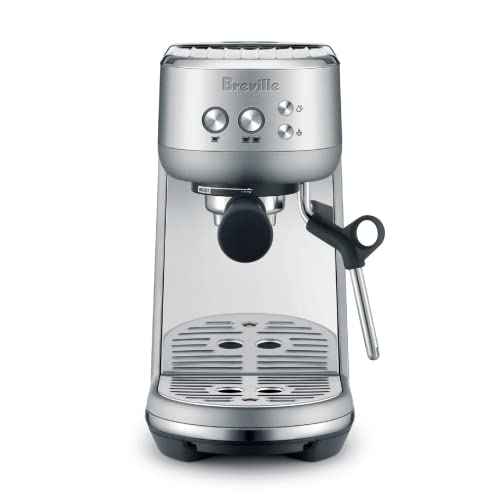
Breville Bambino
Best for: Small kitchens and first home espresso stations.
Why it helps: A compact machine leaves more room for the grinder, preparation, cups, and cleanup.
Check before buying: Live dimensions, reservoir access, steam clearance, included accessories, outlet placement, and manufacturer instructions.
Check on Amazon
Baratza Encore ESP
Best for: Home espresso setups that need a dedicated grinder.
Why it helps: The grinder is part of the preparation workflow, not a decorative extra.
Check before buying: Hopper clearance, dosing method, footprint, cleaning access, and compatibility.
Check on Amazon
Maestri House S2 Coffee Scale
Best for: Measuring coffee and timing shots.
Why it helps: A compact scale supports repeatability without occupying the full preparation zone.
Check before buying: Drip-tray fit, capacity, charging, water resistance, and display visibility.
Check on AmazonWhat a Complete Home Espresso Station Should Achieve
The station should move from beans to a finished drink without repeated trips across the kitchen or a counter crowded with unrelated accessories.
Finished setup checklist
- Machine and grinder fit safely
- Water remains easy to refill
- Preparation follows one direction
- Steam and cup zones stay clear
- Used grounds have a destination
- Daily cleanup is immediate
Table of Contents
Choose the Right Location
Stable Counter
Use a level surface that safely supports the machine, grinder, water, cups, and preparation pressure.
Practical Outlet
Use the electrical arrangement required by the manufacturer and keep cords away from water, heat, edges, and walkways.
Easy Water Route
The reservoir should be removable or refillable without moving the machine through a crowded area.
Steam Clearance
Keep cabinets, shelves, paper, towels, and decor away from heat and steam.
Operating Space
Leave room for the portafilter, steam wand, cups, scale, and milk pitcher.
Fast Cleanup
Choose a surface that wipes easily and does not trap grounds behind the machine.
Measure Before Buying Accessories
| Measurement | Include | Why it matters |
|---|---|---|
| Machine footprint | Feet, drip tray, controls, portafilter | Body width may not equal operating width |
| Machine height | Reservoir lid, hopper, cup area | Upper cabinets may block filling |
| Grinder zone | Hopper, dosing, grounds cleanup | The grinder needs a direct path to the machine |
| Tamping zone | Mat, handle, hand movement | Tamping needs a stable surface |
| Milk zone | Wand swing, pitcher, refrigerator route | Hot milk needs safe working space |
| Cleanup zone | Knock box, towels, brush, sink route | Fast cleanup prevents dried residue |
The Best Home Espresso Station Layout for a Smooth Workflow
Coffee Storage
Keep one active coffee supply near the grinder.
Grinding
Place the grinder immediately before dosing and tamping.
Dosing and Tamping
Keep the scale, dosing tool, tamper, and mat together.
Brewing
Keep the group head, drip tray, and cup area unobstructed.
Milk and Serving
Place the clean pitcher and cups on the steam side when practical.
Waste and Cleanup
Position the knock box, towels, and brush for immediate reset.
For the full organization system, see How to Organize a Coffee Station.
 A standalone station that visually reads left-to-right from coffee and grinding through dosing/tamping, brewing, milk/serving and cleanup
How to Set It Up Step by Step
Read the Instructions
Confirm electrical, water, ventilation, first-use, cleaning, and installation requirements.
Prepare the Surface
Clear and level the counter while preserving access above and behind the machine.
Place the Machine
Position it near power and water without trapping cords or blocking cabinets.
Place the Grinder
Create a direct grinder-to-portafilter path with hopper clearance.
Create the Preparation Zone
Add only the compatible scale, dosing tool, tamper, and stable mat needed.
Create the Milk Zone
Keep the pitcher and cups close without blocking the wand.
Add Grounds Disposal
Place the knock box or disposal route nearby to reduce drips.
Build the Reset Routine
Assign towels, brushing, tray emptying, steam-wand care, and backstock storage.
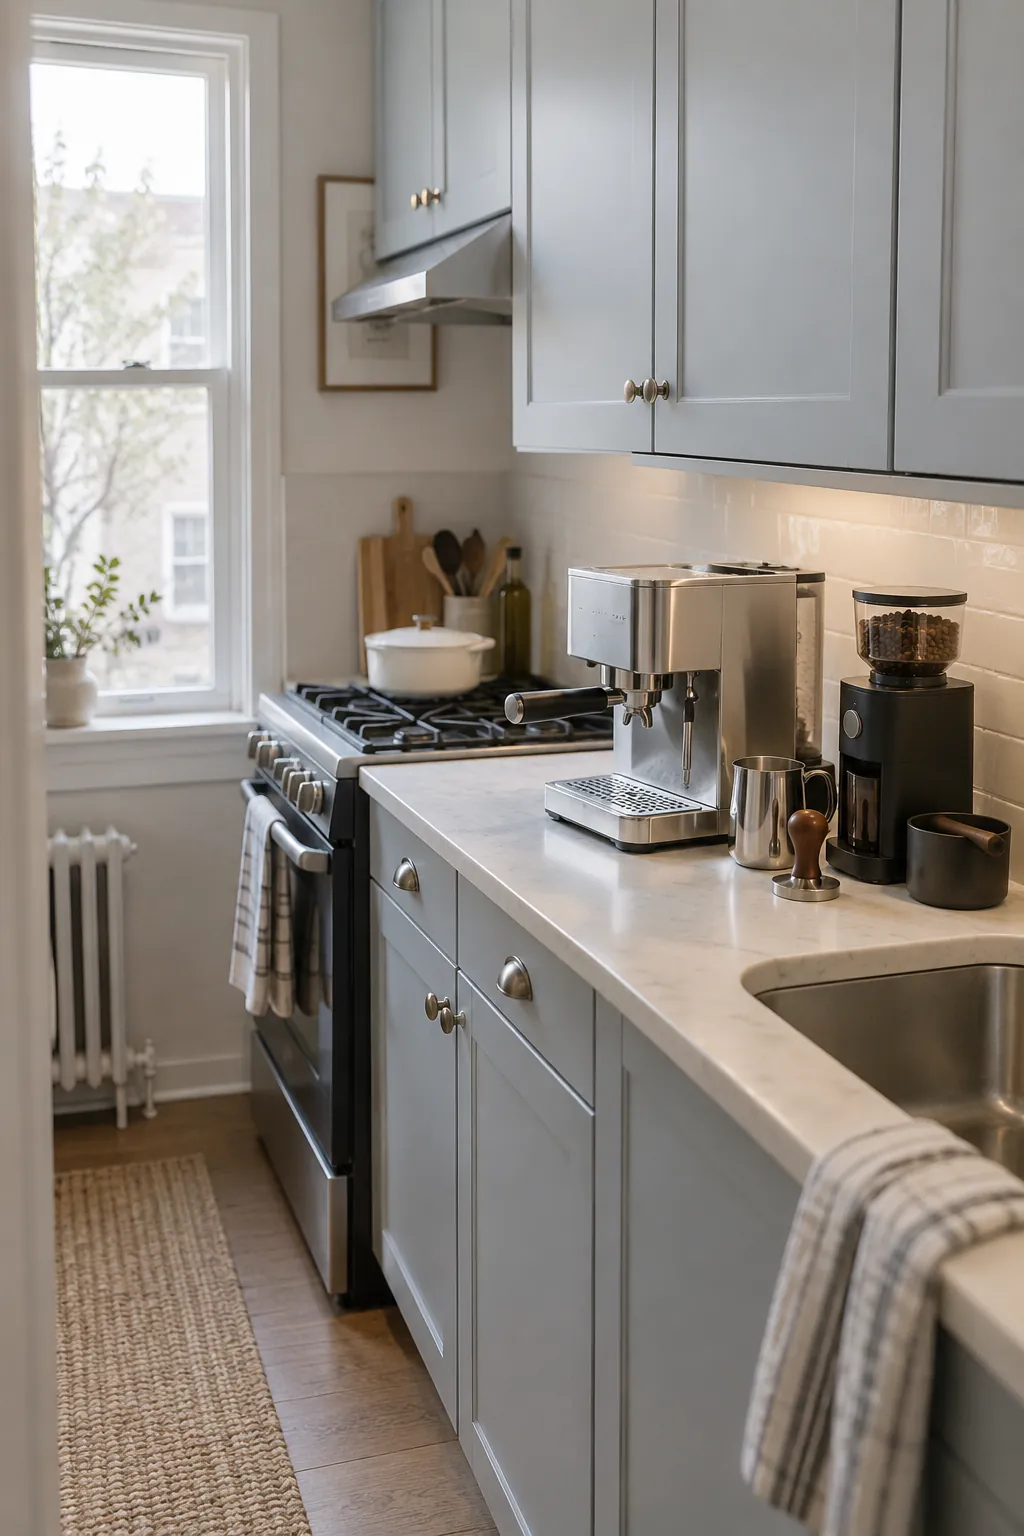 A distinct small kitchen with a compact espresso station, minimal tools on the counter, mugs and secondary supplies stored off-counter, and safe machine clearances
Follow the machine and grinder manuals for electrical safety, water, ventilation, first use, hot surfaces, steam, pressure, cleaning, descaling, filters, and compatible accessories.
Water, Power and Counter Protection
Water Quality
Use water and filters that comply with the manufacturer’s guidance.
Reservoir Access
Top-loading and rear reservoirs need different clearance.
Electrical Access
Keep the plug and cord accessible, dry, and arranged as instructed.
Counter Surface
Use a stable, cleanable surface and address drips promptly.
Set Up the Milk Workflow
Choose Pitcher Size
Match it to the typical milk quantity and wand geometry.
Protect Wand Clearance
Keep cups, hooks, shelves, and decor away from the full motion.
Plan the Refrigerator Route
Retrieve and return milk without crossing a hot workspace.
Use One Active Towel
Follow safe hygiene and machine-care practices.
Clean Immediately
Follow the instructions for purging and cleaning after use.
Store the Pitcher
Return the clean, dry pitcher without blocking brewing access.
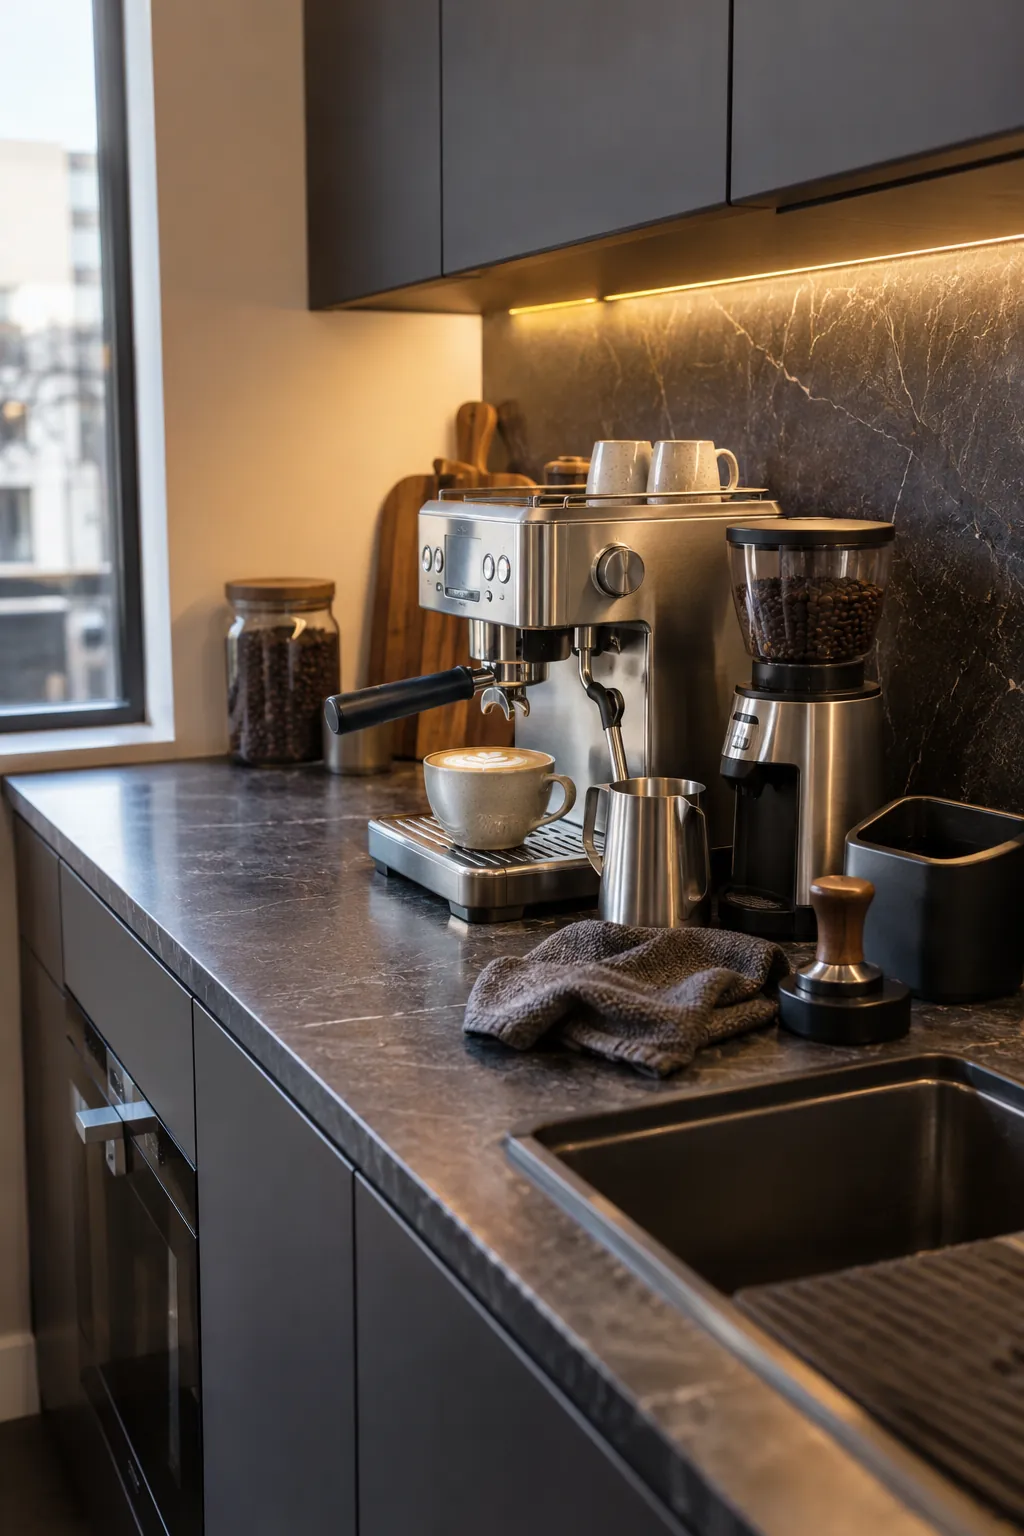 A distinct latte/cappuccino station showing practical steam-side clearance, milk pitcher, cup placement, active towel and an unobstructed cleanup route
Daily Cleaning and Maintenance
| Frequency | Typical task | Storage approach |
|---|---|---|
| After each drink | Clear grounds, wipe spills, care for steam wand | One active towel and brush nearby |
| End of routine | Empty knock box and drip tray | Keep waste and sink route clear |
| Scheduled | Cleaning cycle, filter and grinder care | Labeled maintenance bin with manuals |
| As instructed | Descaling or deeper maintenance | Compatible products stored safely away from food |
More Espresso Station Tools to Add Only When Needed
Once the layout is working, add only the accessories that solve a repeated preparation, milk, grounds-disposal, cleanup or maintenance problem.

Normcore Espresso Tamping Mat
Best for: Defining and protecting the tamping area.
Why it helps: A stable surface separates dosing and tamping from serving.
Check before buying: Portafilter shape, counter edge, footprint, cleanability, and instructions.
Check on Amazon
Breville Knock Box 10
Best for: Frequent portafilter espresso routines.
Why it helps: It gives used pucks a defined destination and reduces drips.
Check before buying: Footprint, emptying frequency, bar removal, washing, and placement.
Check on Amazon
UMUACCAN 12 oz Milk Pitcher
Best for: Compact milk-drink routines.
Why it helps: The pitcher belongs near the steam side and should be easy to rinse.
Check before buying: Serving size, steam-wand length, handle, spout, and cleaning routine.
Check on Amazon
CAFEMASY Cleaning Brush Kit
Best for: Removing loose grounds from compatible work areas.
Why it helps: A nearby brush makes the daily reset easier.
Check before buying: Machine instructions and whether components are cool and safe to brush.
Check on Amazon
EubooTree Barista Towels
Best for: Separating steam-wand, counter, and general cleanup cloths.
Why it helps: A towel rotation supports faster and cleaner resets.
Check before buying: Laundering, replacement, storage, and hygiene practices.
Check on Amazon
IMPRESA Coffee Machine Descaler
Best for: Compatible machines when descaling is required.
Why it helps: Maintenance products belong in a labeled secondary zone.
Check before buying: Compatibility, manufacturer instructions, dosage, schedule, and safe storage.
Check on AmazonHome Espresso Setup Comparisons
| Decision | Choose the first option when | Choose the second option when |
|---|---|---|
| Built-in vs separate grinder | Compactness and simpler placement matter | Independent grinder choice matters |
| Scale vs no scale | Measured repeatability matters | The routine is intentionally simplified |
| Dosing cup vs direct dosing | Transfer mess is a repeated problem | The grinder already doses cleanly |
| Knock box vs trash route | Espresso is made frequently | Espresso is occasional |
| Open counter vs cabinet | Ventilation and access matter | The cabinet safely supports operation |
| Cart vs fixed counter | No permanent counter is available | Maximum stability matters |
Copy These Home Espresso Station Setups
Essential Setup
- Machine
- Compatible grinder
- Tamper and stable surface
- Two to four cups
- One towel and brush
- Waste route
Compact Setup
- Compact machine and grinder
- Small scale
- One shallow tool drawer
- Compact knock box
- Four cups in cabinet
Latte Setup
- Machine and grinder
- Scale and preparation tools
- Milk pitcher
- Clear steam zone
- Dedicated towel rotation
Drawer-Based Setup
- Machine and grinder visible
- Dosing tools in shallow drawer
- Cups in upper cabinet
- Cleaning backstock in labeled bin
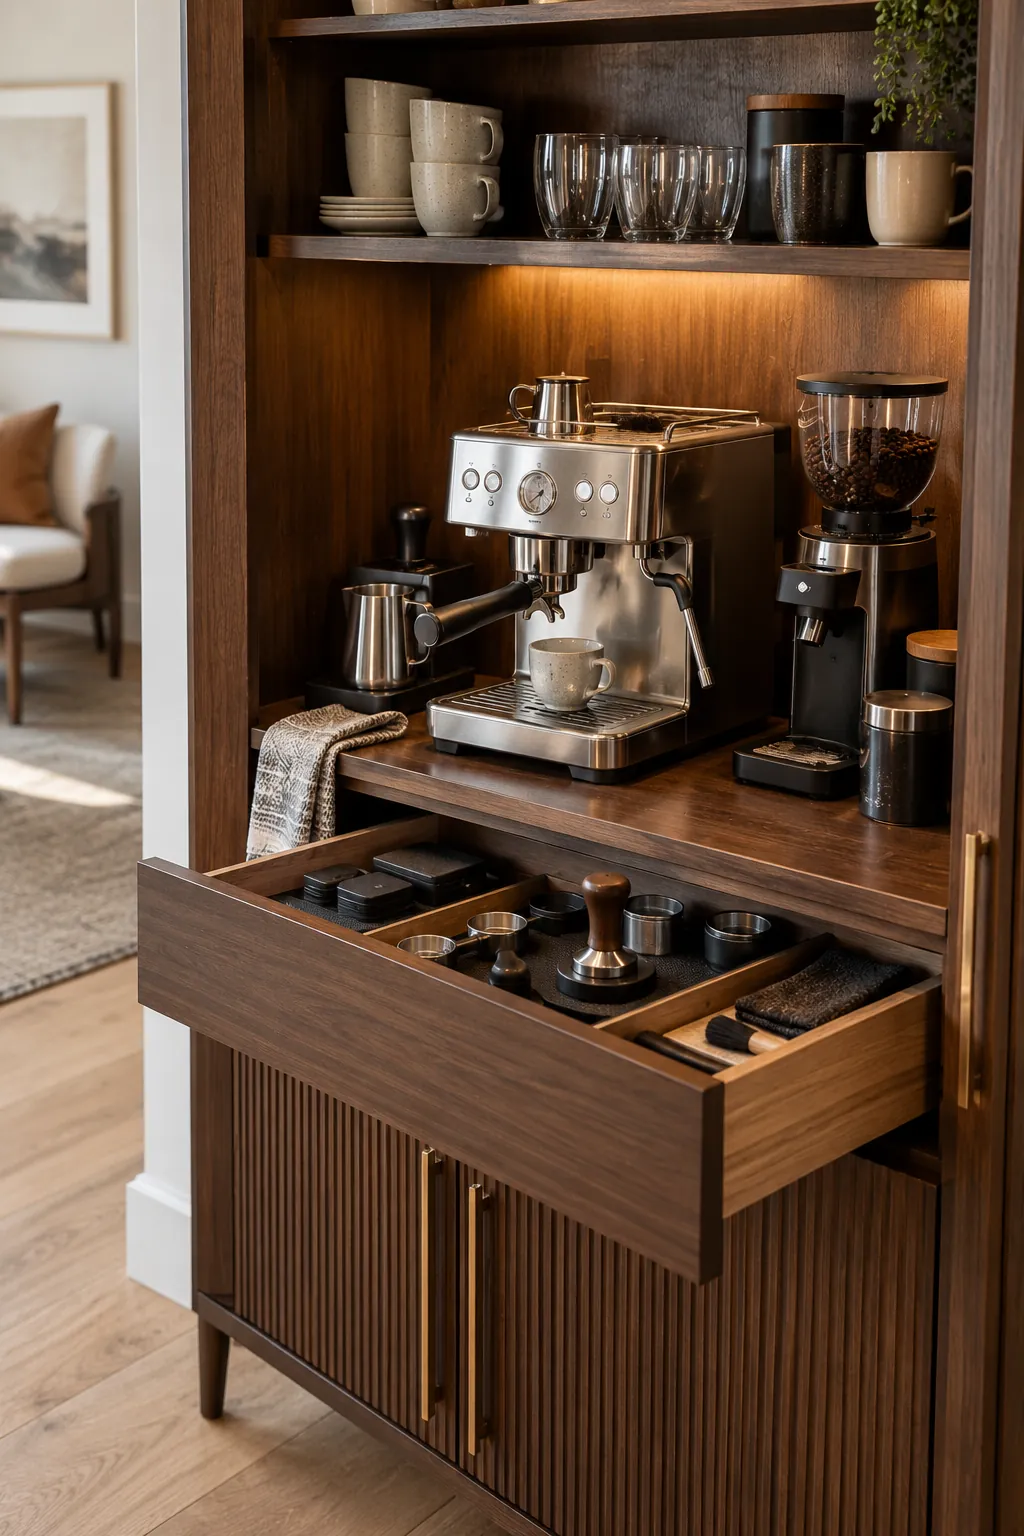 Machine and grinder visible while dosing/tamping tools live in a shallow drawer, cups in upper storage, and maintenance supplies concealed—distinct home and materials
Home Espresso Station Layout Ideas to Copy
Machine + Grinder + One Prep Zone
Keep the machine and grinder together, then reserve one small surface for the scale, tamping mat, and active tools. Store cups and maintenance supplies off the counter.
Keep Tools Below the Work Surface
Leave the machine and grinder visible while storing dosing, tamping, spare towels, and cleaning tools in a shallow drawer directly below.
Protect the Steam Side
Keep the pitcher, cup, and active towel near the steam wand without blocking its full movement or creating a crowded hot-work zone.
Use Vertical Storage Around the Station
Move mugs and secondary supplies into nearby cabinets or shelves so the counter remains dedicated to grinding, brewing, and cleanup.
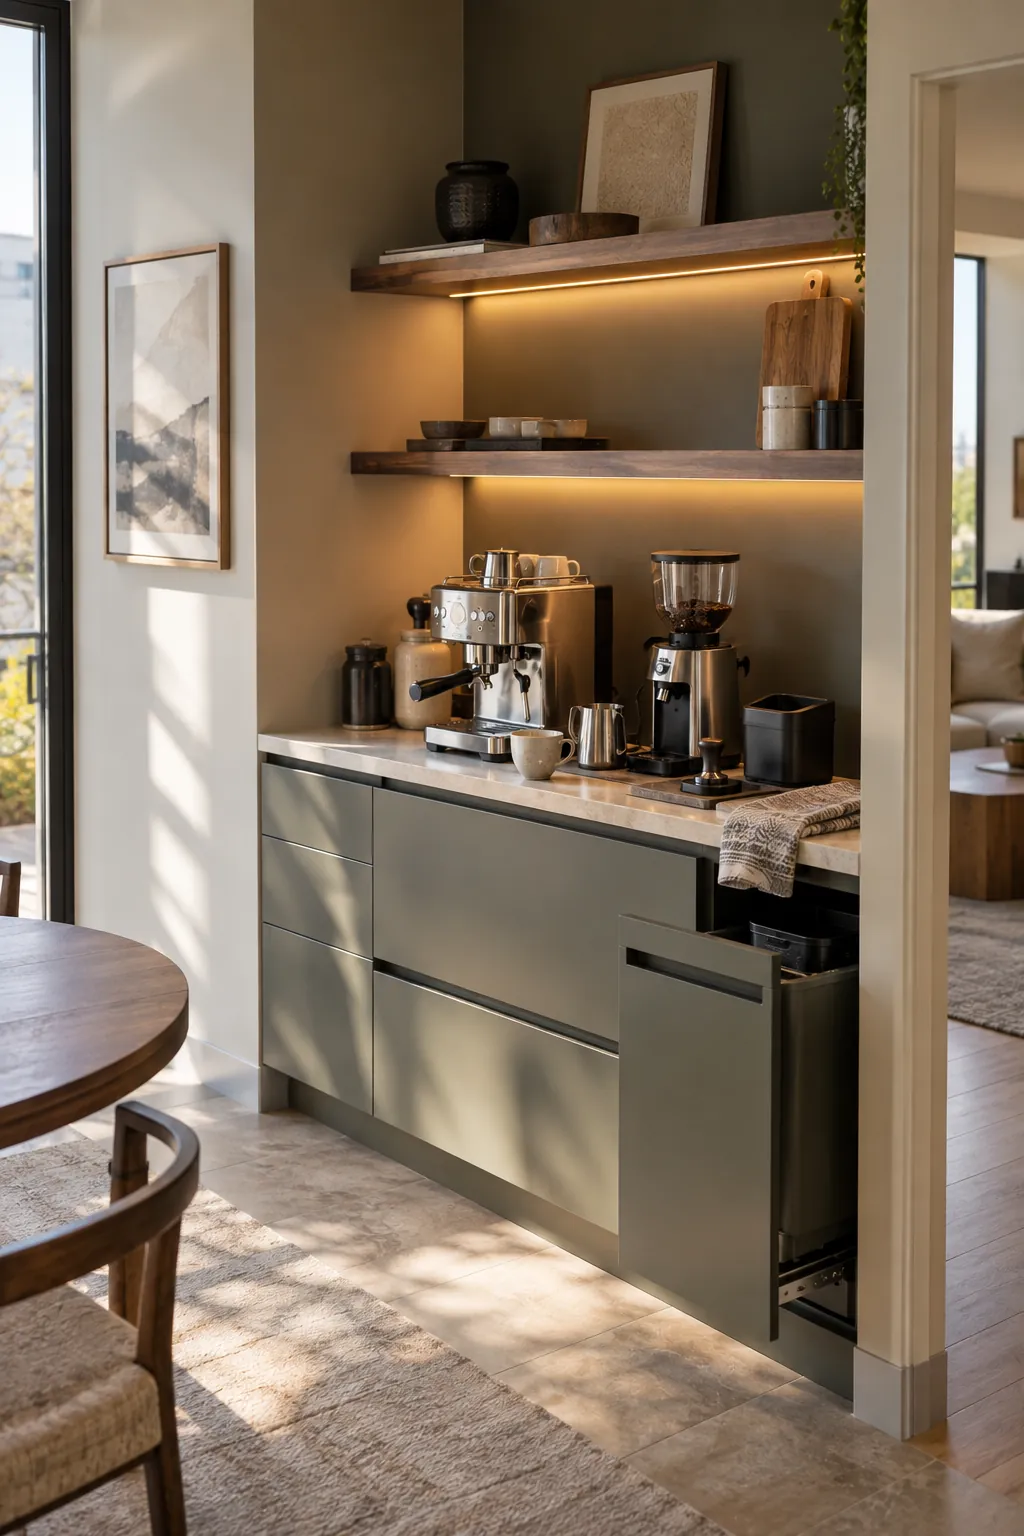 Finished organized espresso station with only daily-use tools visible, clear preparation space, controlled storage, and a fast cleanup path
Final Recommendation
Arrange the station in the order the drink is made: coffee, grinder, dosing, tamping, machine, milk, serving, waste, and cleanup. Keep only daily tools on the counter, preserve every required clearance, and store maintenance backstock in a labeled secondary zone.
Frequently Asked Questions
Where should an espresso machine be placed at home?
Place it on a stable, level surface near a suitable outlet and practical water route, with all clearances required by the manufacturer.
Does a home espresso machine need a separate grinder?
Many portafilter setups benefit from a compatible espresso-capable grinder unless the machine already includes one or the user relies on appropriately ground coffee.
What accessories are needed?
The list may include a grinder, tamper, scale, dosing tool, tamping surface, milk pitcher, knock box, towels, brush, and compatible maintenance products.
Can it go inside a cabinet?
Only when the cabinet provides the ventilation, heat, steam, electrical, reservoir, and operating clearances required by the manufacturer.
How much counter space is needed?
Measure the machine and grinder, then add room for reservoir access, portafilter movement, tamping, cups, milk steaming, waste, and cleanup.
How should the station be organized?
Arrange coffee storage, grinding, dosing, tamping, brewing, milk, serving, grounds disposal, and cleanup in order.